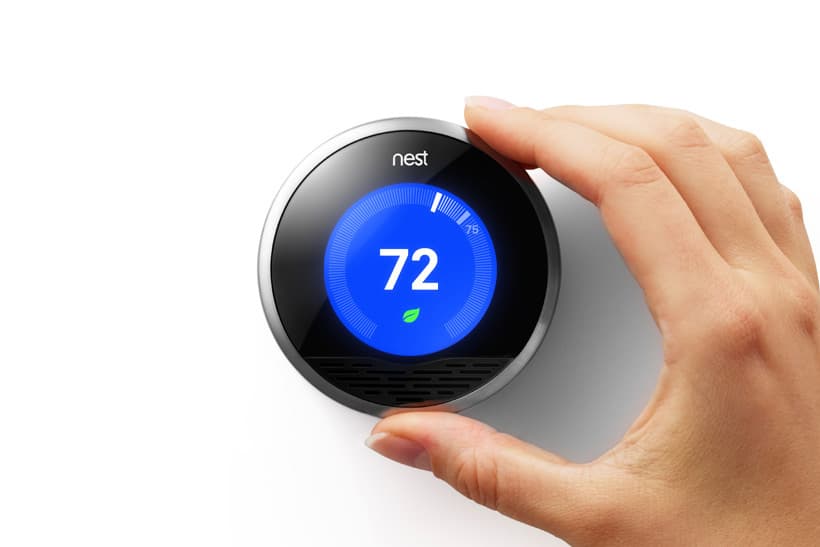
How to Install Nest Thermostat
While Nest worked hard to make buyers able to install Nest thermostat themselves. While is may be a DIY project for some, for others you should hire a Nest Pro installer. If you are not comfortable with basic wiring, thermostats and HVAC systems, wi-fi, apps, etc, then we highly recommend hiring a professional Nest Pro installer, such as Fort Worth Home Repair. You can be assured your Nest Thermostat will be installed and set up properly by your Nest Pro installer. However, if you are handy, a little “tech saavy” and like to do this type of job yourself, then this article will guide you though the installation process. We will cover the Set Up process in another post. But, keep in mind, there are some very important instructions to follow for operation of the thermostat and safety.
Nest Box Contents
Your first step is to make sure you received everything you need in the box. The box should include everything to install Nest Thermostat, including the installation guide, screws, screwdriver, trim kit. and the Nest thermostat. If you haven’t already checked, you should check the Nest.com online compatibility checker to make sure your system and wiring is compatible with the Nest Thermostat. Most systems will be compatible, but some may not.
Turn Off Power to Install Nest Thermostat
You should go to your electrical panel breaker box, and turn off the breaker that controls the power to your air conditioning and heating system, Once you have turned off the power to your HVAC system, adjust your existing thermostat to a different temperature. After a few minutes, if the system turns on, you have NOT turned off power to the HVAC system. Be sure to turn off the correct breaker to the system before you go any further. It may be necessary to turn off the main breaker in the breaker panel to be sure. We recommend using a voltage meter as well. Be sure power is off before you install Nest Thermostat.
High Voltage Systems are NOT Compatible with Nest Thermostat
If the existing thermostat is built into the wall, has large wires connected with wire caps, or says 120V or 240V, you have a high voltage system. The Nest Thermostat is not compatible with high voltage system. Never connect the Nest Thermostat to a high voltage system. If you are not sure, hire a professional to install Nest Thermostat..
Removing Old Thermostat
Before you can install Nest thermostat, you must carefully remove the front of your existing thermostat. Most thermostat front plates just pop off or are attached with a few screws. After you remove the from plate of the thermostat, if it highly recommended that you take a picture of the wire configuration with your phone. This will come in handy later. If there is jumper wire, remove it you wont need it for this installation.
Label the Existing Wires
Because every heating and cooling system is different, it is important to label the existing wires. Attach the labels in the Installation Guide to your each of your existing wires.
Remove Wires from Existing Thermostat
Now you can remove the wires from the existing thermostat. Most wires are attached with either screw terminals or buttons you simply press to remove the wires. You can use the screwdriver included in your Nest box and disconnect the carefully disconnect the wires from the base. Carefully remove the existing thermostat base, making sure that none of the wire labels fall off.
Patch, Spackle and Paint any Holes or Unpainted Areas
With the existing thermostat removed, you can check for any holes or unpainted areas behind the thermostat. You can also see if your Nest Thermostat will cover these existing holes. This is a great time to patch and paint. Or you can use the optional trim plat to cover up any holes. If you are installing Nest on electrical box, use the provided metal plate and install the trim plate over it.
Ready to Install Nest Thermostat
Now you can install your Nest Thermostat base. Gently pull wires through the thermostat base. Put one screw in top hole. To not tighten all the way. Use the auto level in the Nest to make sure the thermostat is level, and put the other screw in the bottom. When it is all level, you can tighten all the screws. If you are mounting the Nest on harder surfaces such as wood, use a 3/32 inch drill bit to drill a pilot hole for the screws.
Connecting the Wires to Nest
You can now connect the wires to your new Nest Thermostat. Look at the end of the wires. They should be straight, and have approximately 3/8 inch of bare wire showing. If there is not enough wire showing, strip the wire to the desired length. Insert each wire that has a label into the matching connector. Hold down connector button on the outer ring and push the wire all the way in.
Ensure Good Wire Connection
Make sure connector button stays down after you insert the wire. Otherwise it may not get enough power and you wont be able to complete set up.
Only install one wire for each connector, and do not install any wires that were not connected to your old thermostat. After all the wires have been installed, push them flush with. this will help nest display attach to the base.
To connect the display, hold it with the Nest logo at the top. Push on the base until you hear it snap in place with a click.
Turn On Electric Power to System
Go back to your breaker panel and turn the power back on to your cooling and heating system. Your Nest Thermostat should start up automatically and ready to be set up. It will also detect which wires you installed. If they matched the wires you installed, press continue. If not, check the wires connected, and make sure they are pushed all the way in.
You are Ready for Set Up
Once all the wires connected are properly displayed, press Continue, and you are ready for Set Up!
We will cover Set Up in another Helpful Hint in the future.
Hire a Nest Pro Installer
If you are not comfortable with any part of the installation or set up process, we recommend hiring an authorized Nest Pro Installer, such as Fort Worth Home Repair. You can be assured your system is installed and set up properly and ready for your use and enjoyment.
![]()
If you need professional assistance in installation and set up of your Nest Learning Thermostat, contact Fort Worth Home Repair at www.fortworthhomerepair.com, 817-201-7100 or email at david@fortworthhomerepair.com. We would be glad to be of service to you.
You can learn all about our Nest device services by clicking here.
Check out our Home Maintenance Checklist.

